
先向大伙儿推荐一下极光推送,确实挺好用的,之前在我的iOS APP上已经集成好了Swift版本,几个月用下来,感觉推送速度很快,效率不错。
现在有个Android APP也需要推送功能,但是极光推送的SDK只有Java版本,而且步骤比较繁琐。于是经过一个上午的摸索,终于成功收到了推送消息。下面就来记录一下过程:
- 首先是gradle文件的配置
android {
    ... //省略
    defaultConfig {
        ndk {
            abiFilters 'armeabi-v7a', 'arm64-v8a', 'x86'
        }
        manifestPlaceholders = [
                JPUSH_PKGNAME: applicationId,
                JPUSH_APPKEY : "e2f792b637d17a30a5a607b2", //只需要改这里,极光推送的appkey
                JPUSH_CHANNEL: "developer-default",
        ]
    }
}

dependencies {
    ...//省略
    implementation 'cn.jiguang.sdk:jpush:3.1.6' //截止2018-11-3日最新版本
    implementation 'cn.jiguang.sdk:jcore:1.2.5'
}
修改完后同步一下,如果是用的Android Studio会在右上角出现黄色提示,点”Sync”即可
- 找到项目的”proguard-rules.pro”文件,在最下面增加这么几行
-dontoptimize
-dontpreverify

-dontwarn cn.jpush.**
-keep class cn.jpush.** { *; }
- 在项目”AndroidManifest.xml”文件中的”</application>”标签前增加
<receiver
    android:name=".MyReceiver"
    android:enabled="true"
    android:exported="false">
    <intent-filter>
        <action android:name="cn.jpush.android.intent.REGISTRATION" />
        <action android:name="cn.jpush.android.intent.CONNECTION" />
        <action android:name="cn.jpush.android.intent.MESSAGE_RECEIVED" />
        <action android:name="cn.jpush.android.intent.NOTIFICATION_RECEIVED" />
        <action android:name="cn.jpush.android.intent.NOTIFICATION_OPENED" />
        <action android:name="cn.jpush.android.intent.ACTION_RICHPUSH_CALLBACK" />
        <category android:name="com.spoonwep.demo" /><!-- 这里务必改成你自己的applicationid -->
    </intent-filter>
</receiver>
这个时候android:name=”.MyReceiver”这里会提示找不到class,因此我们来新建一个class
- 新建一个”MyReceiver.kt”文件
package com.spoonwep.demo //记得改这里

import android.content.BroadcastReceiver
import android.content.Context
import android.content.Intent
import android.os.Bundle
import android.util.Log
import androidx.localbroadcastmanager.content.LocalBroadcastManager
import cn.jpush.android.api.JPushInterface
import org.json.JSONException
import org.json.JSONObject

class MyReceiver: BroadcastReceiver() {
    override fun onReceive(p0: Context?, p1: Intent?) {
        val bundle = p1!!.extras
        Log.d("JPUSHDEBUG", "action:"+p1.action)
        when(p1.action) {
            JPushInterface.ACTION_CONNECTION_CHANGE -> { //连接
                val connected = p1.getBooleanExtra(JPushInterface.EXTRA_CONNECTION_CHANGE, false)
                Log.d("JPUSHDEBUG", connected.toString())
            }
            JPushInterface.ACTION_MESSAGE_RECEIVED -> { //收到自定义消息
                processCustomMessage(p0!!, bundle!!)
            }
            JPushInterface.ACTION_NOTIFICATION_RECEIVED -> { //收到通知栏消息
                val notifactionId = bundle!!.getInt(JPushInterface.EXTRA_NOTIFICATION_ID)
                Log.d("JPUSHDEBUG", "received notice:"+notifactionId.toString())
            }
            JPushInterface.ACTION_NOTIFICATION_OPENED -> { //用户点开通知栏消息
                Log.d("JPUSHDEBUG", "OPENED")
            }
        }
    }

    private fun processCustomMessage(context: Context, bundle: Bundle) {
        if (MainActivity.isForeground) {
            val msg = bundle.getString(JPushInterface.EXTRA_MESSAGE)
            val extras = bundle.getString(JPushInterface.EXTRA_EXTRA)
            val intent = Intent(JPushInterface.ACTION_MESSAGE_RECEIVED)
            intent.putExtra("message", msg)
            if (!isEmpty(extras)) {
                try {
                    val extraJson = JSONObject(extras)
                    if (extraJson.length() > 0) {
                        intent.putExtra("extras", extras)
                    }
                } catch (e: JSONException) {

                }
            }
            LocalBroadcastManager.getInstance(context).sendBroadcast(intent)
        }
    }

    fun isEmpty(str: String?): Boolean {
        if (null == str)
            return true
        if (str.length == 0)
            return true
        if (str.trim().length == 0)
            return true
        return false
    }
}
到这里我们已经可以接收到极光推送的消息了,到极光推送的开发者后台推送一条消息
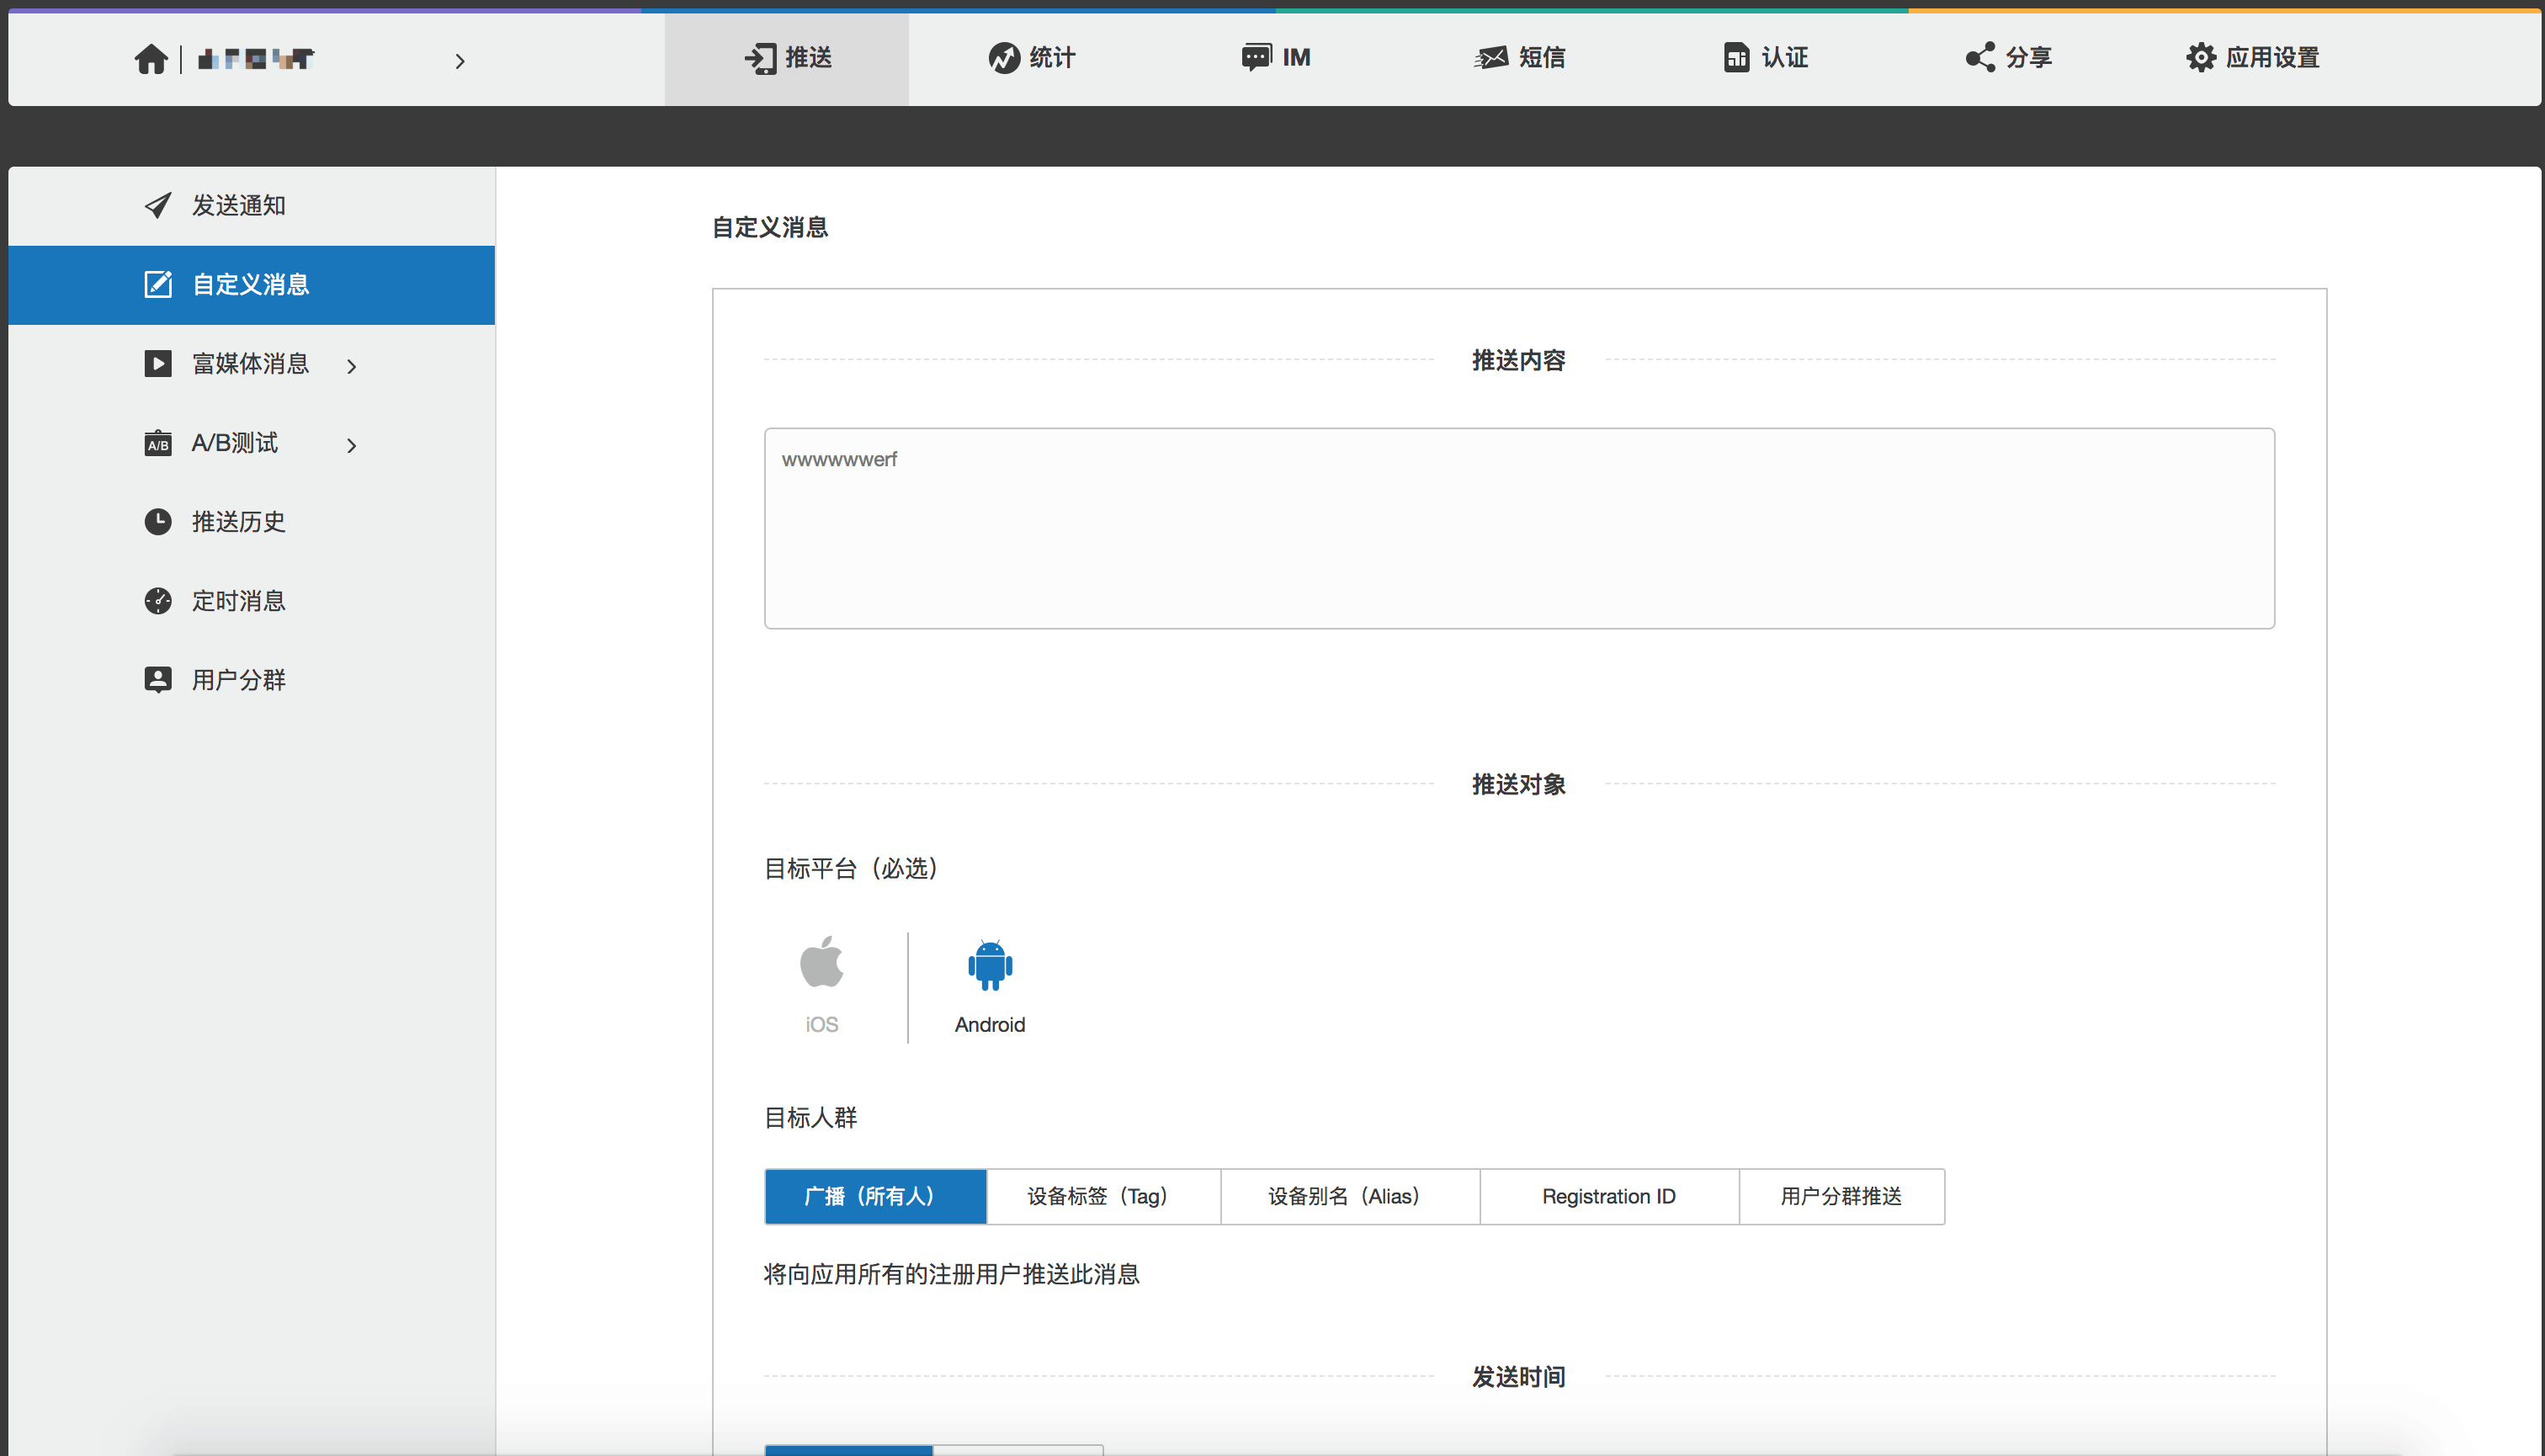
就可以在Logcat中看到打印出来的数据了

- 虽然接收到数据了,但是收到自定义消息一般都是要在activity中操作改变UI的,所以我们在”MainActivity.kt”中做出如下修改:
在class下面:
    companion object {
        var isForeground = false
    }
    private val broadCastReceiver = object : BroadcastReceiver() {
        override fun onReceive(context: Context?, intent: Intent?) {
            when (intent!!.action) {
                JPushInterface.ACTION_MESSAGE_RECEIVED -> {
                    val msg = intent.extras!!.getString("message")
                    val extras = intent.extras!!.getString("extras")
                    Log.d("JPUSHLOG", msg+extras) //开发者后台只能发message,不能发extras
                }
            }
        }
    }

    private fun registerMessageReceiver() {
        val filter = IntentFilter()
        filter.priority = IntentFilter.SYSTEM_HIGH_PRIORITY
        filter.addAction(JPushInterface.ACTION_MESSAGE_RECEIVED)
        LocalBroadcastManager.getInstance(this).registerReceiver(broadCastReceiver, filter)
    }
在onCreate方法中初始化
JPushInterface.setDebugMode(true)
JPushInterface.init(this)
JPushInterface.setAlias(this, 1, "修改为你的用户别名") //如果要指定用户别名就加这一行,我是用来区分用户的唯一性,好分用户推送消息同样也可以用setTags方法设置用户标签
registerMessageReceiver()
在onResume方法中
isForeground = true
在onPause方法中
isForeground = false
在onDestroy方法中
LocalBroadcastManager.getInstance(this).unregisterReceiver(broadCastReceiver)
至此,所有步骤都完成了。


谢谢你